Another post on native applications will cover building a simple native mobile application using React Native.
What is React Native?
React Native is a JavaScript framework that allows you to write native mobile applications for iOS and Android. It is based on React , Facebook’s JavaScript library for web applications.
In the example using React Native we will be creating the same application we created using Xamarin. A simple list showing customer records from the DataFlex WebApp Order Entry workspace.
To get started with React Native we need to install the NPM package manager (or your favorite package manager). You can find NPM over at https://www.npmjs.com/
For this example we will also utilize expo. Expo is an open source toolchain that makes building Android and iOS apps under React Native very easy.
to install expo enter the following command line to install using NPM
npm install -g expo-cli
this will install the expo toolchain globally on your computer so it is available to initialize projects
the next step is to initialize your application. We will use expo to do that and this will create a folder for your application so in a command shell navigate to the folder you want to create your application in and enter the following.
The first line will create a folder called DataFlexAndReact and then initialize the project. Then we simply navigate to that folder and start the development server.
expo init DataFlexAndReact

cd DataFlexAndReact
npm start
Now lets look at a simple HelloWorld React project
import React, { Component } from 'react';
import { Text, View } from 'react-native';

export default class DataFlexAndReact extends Component {
  render() {
    return (
      <View>
        <Text>Hello world!</Text>
      </View>
    );
  }
}
Running this will obviously show the text Hello world!.
Now we want to modify this program to show a list of customers and then fill the list with data from our web service
first we add some state information to our project. We do this by adding some property settings in the constructor
export default class DataFlexAndReact extends Component {

  constructor(props){
    super(props);
    this.state ={ isLoading: true}
  }

  ..

}
then we need to call the web service and get the list of customers.
We do this by hooking into componentDidMount
  componentDidMount(){
    return fetch('http://youripgoeshere/WebOrder_19_1/CustomerAndOrderInfo.wso/GetCustomerInfoList/JSON')
      .then((response) => response.json())
      .then((responseJson) => {

        this.setState({
          isLoading: false,
          dataSource: responseJson,
        }, function(){

        });

      })
      .catch((error) =>{
        console.error(error);
      });
  }
we use the fetch method to call the web service to return the json data. When the data is received we save the data in our state object.
now lets add some code to the render function to render a flatlist in our view
first we need to add some imports at the top as follows
import { FlatList, StyleSheet, ActivityIndicator, Text, View } from 'react-native';
then we modify the render function as follows
render() {
return (
<View style={styles.container} >
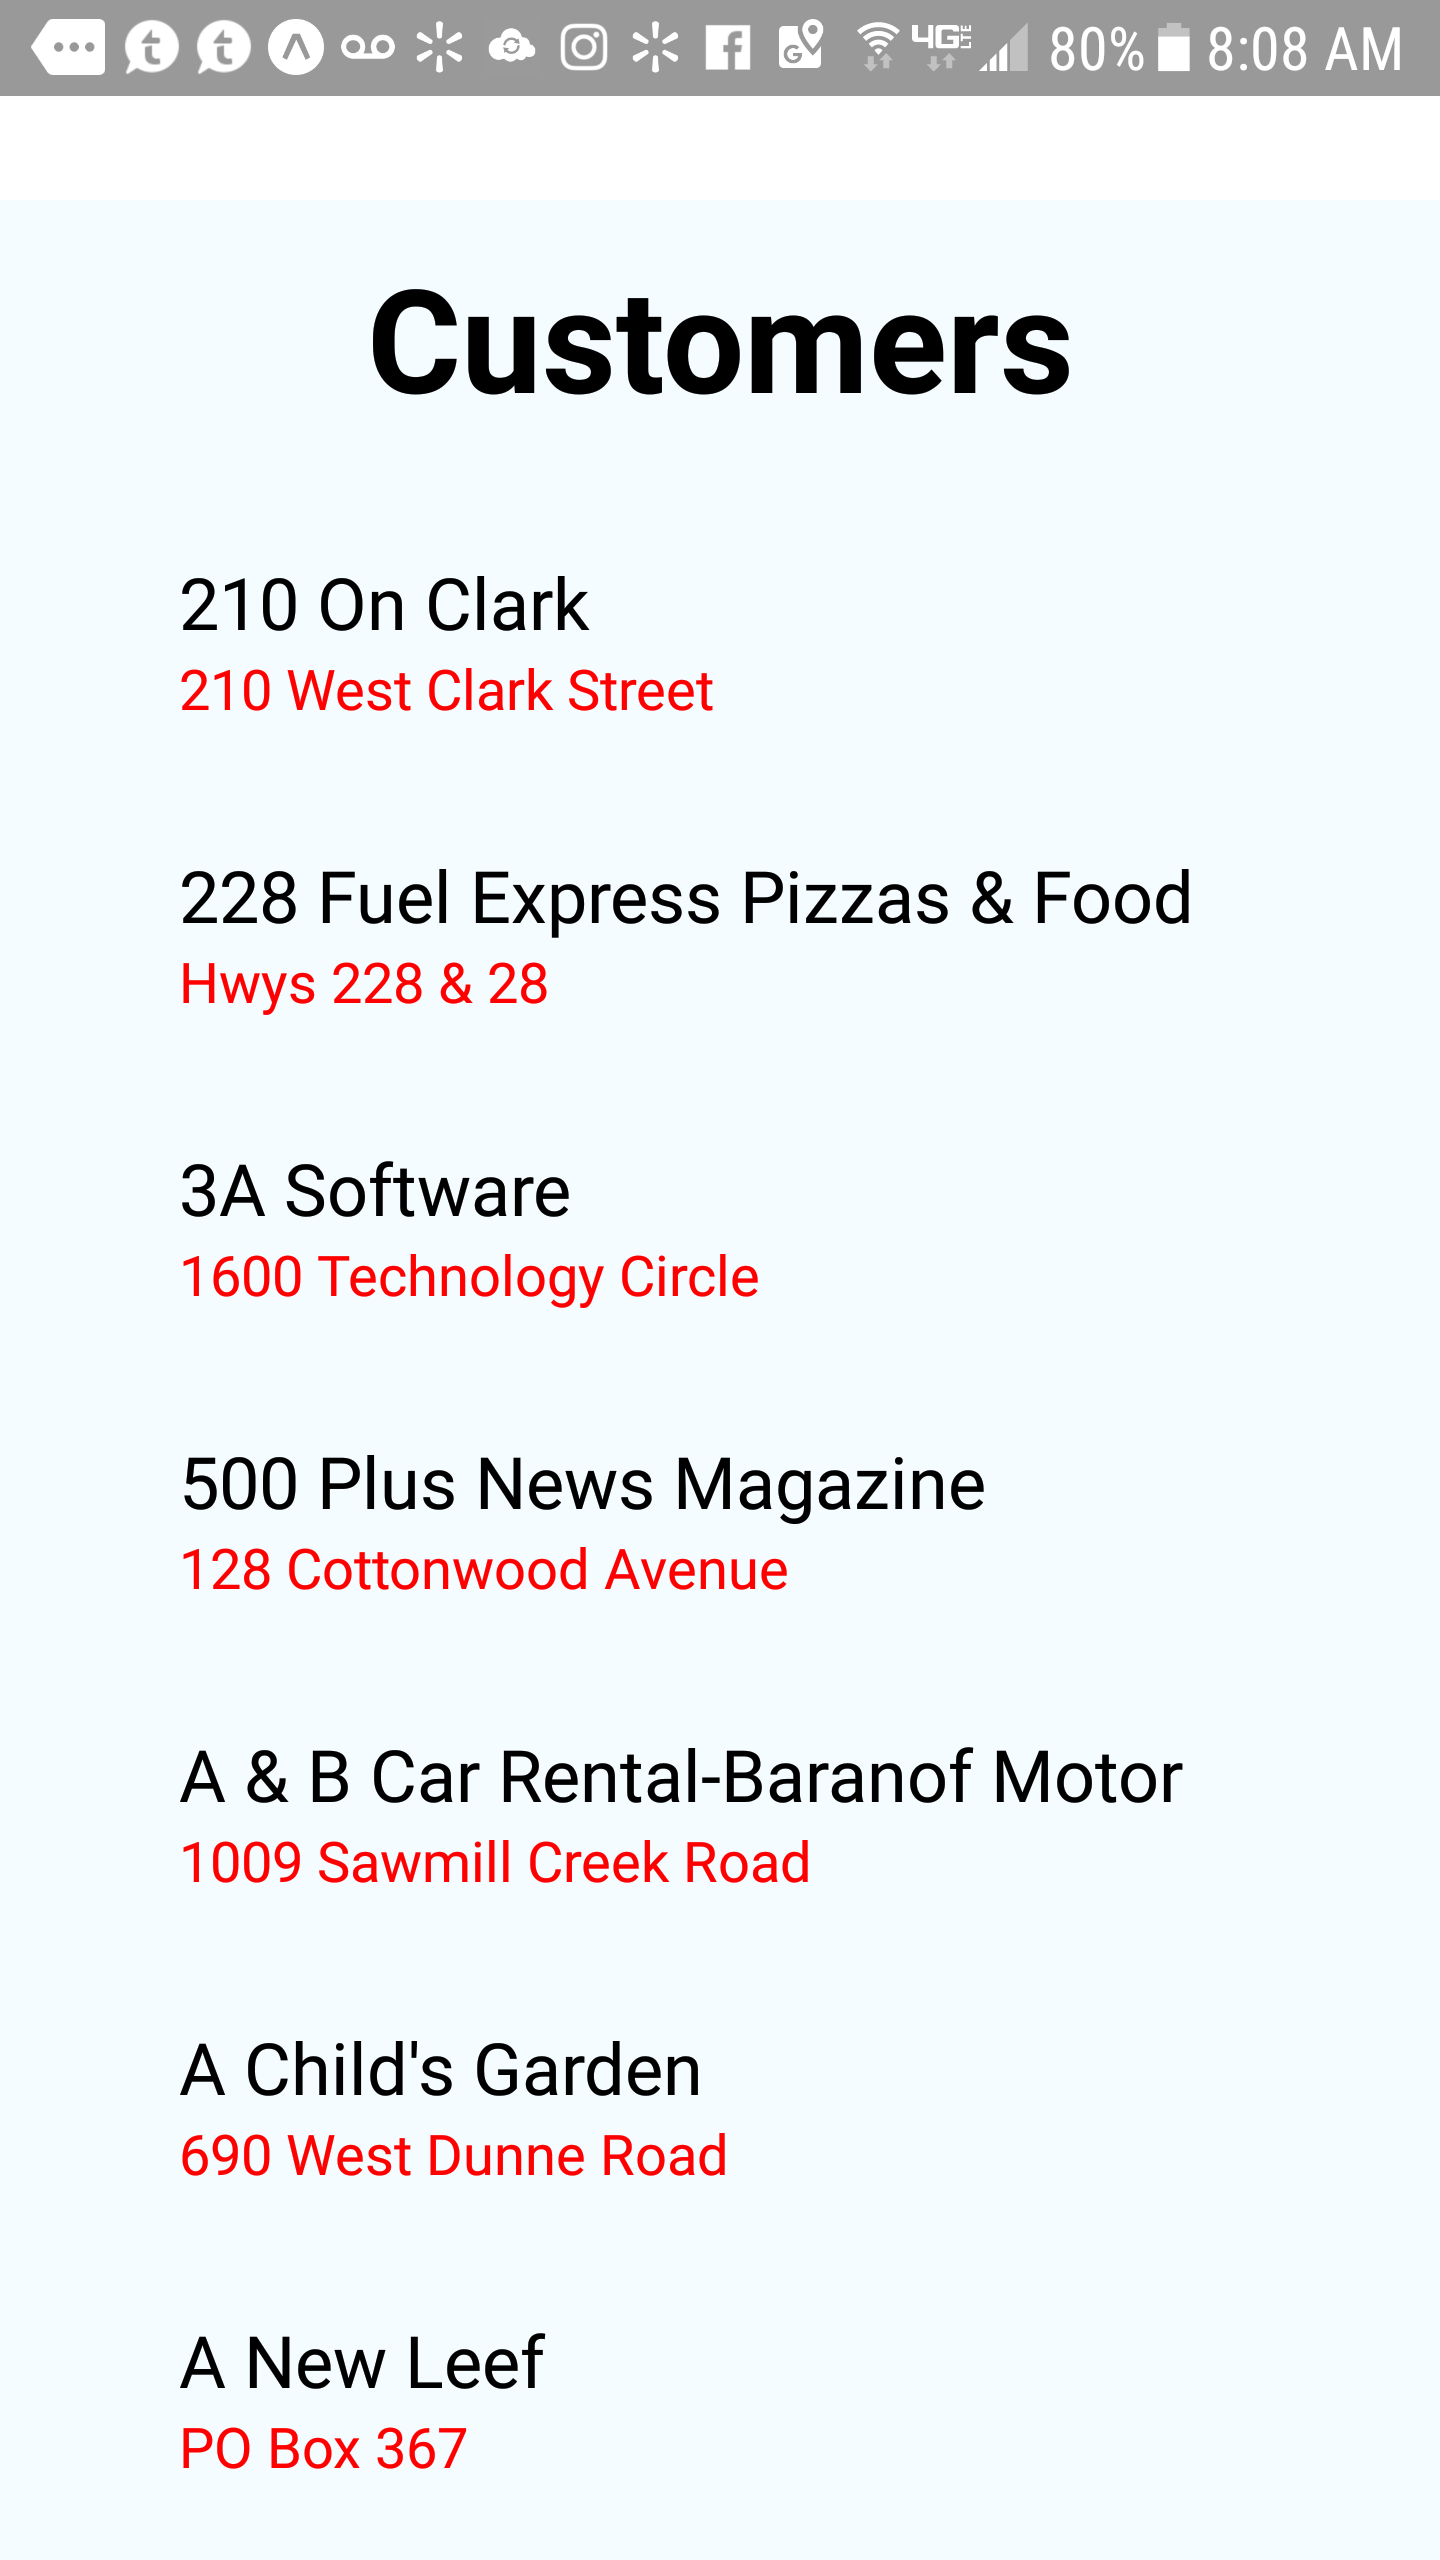
<Text style={styles.h2text}>
Customers
</Text>
<FlatList
data={this.state.dataSource}
showsVerticalScrollIndicator={false}
renderItem={({item}) =>
<View style={styles.flatview}>
<Text style={styles.name}>{item.sName}</Text>
<Text style={styles.email}>{item.sCustAddress}</Text>
</View>
}
keyExtractor={item => item.iCustNumber.toString()}
/>
</View>
);
}
we show the text Customers as a header and then create a FlatList using the data from our state information.
The renderItem function renders each list item by showing the customer name and address. To satisfy the flatlist we also need to add a unique identifier for each item which will be the customer number as a string.
Saving the changes will automatically build the updated application. Lets take a look at the application running on an Android phone