In this post on DataFlex and native mobile applications we will show how to create a native mobile application and connect it to our DataFlex application using web services built with the WebApp Framework.
While web applications can run on devices and become more and more able to do many things native mobile applications can do there are still a lot of things that are better done in a native mobile application.
An option to create a native mobile application on 3 platforms (iOS, Android and Windows) from the same code base is Xamarin. Xamarin is a cross platform environment that allows us to build a mobile application that will build as a native iOS application as well as a native Android and Windows application.
The code base is written in C#. This is just one example of building a mobile application there are several other frameworks out there and we will be visiting some of them in future posts.
For this example our goal is to use the DataFlex Web Order workspaces web services to supply data. Specifically we are looking at showing a list of customers using the GetCustomerInfoList web service that returns a list of all customers.
So in order for this to work we will need the Web Order workspace working and running.
By default the url for the web service would be
http://localhost/WebOrder_19_1/CustomerAndOrderInfo.wso/GetCustomerInfoList
and when called from a browser we would receive an output similar to the following
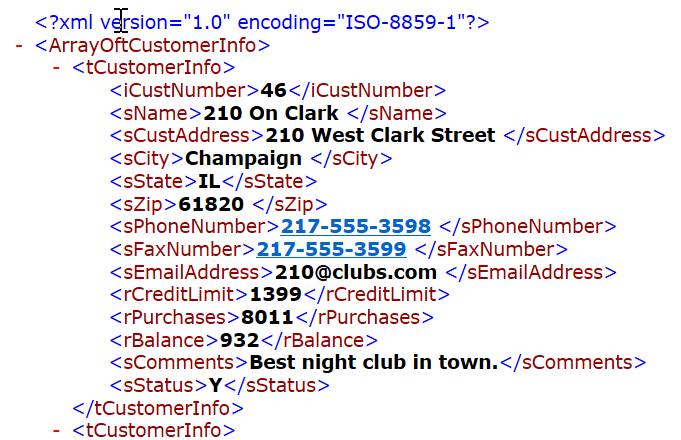
We could use this but switching the output to JSON will make it a lot more useful so we use the following URL which will return the data in JSON format
http://localhost/WebOrder_19_1/CustomerAndOrderInfo.wso/GetCustomerInfoList/JSON
Having the data ready we can switch to creating our native mobile application
To do this we create a Xamarin project in Visual Studio. We select the project type as a Cross Platform App (Xamarin Forms).
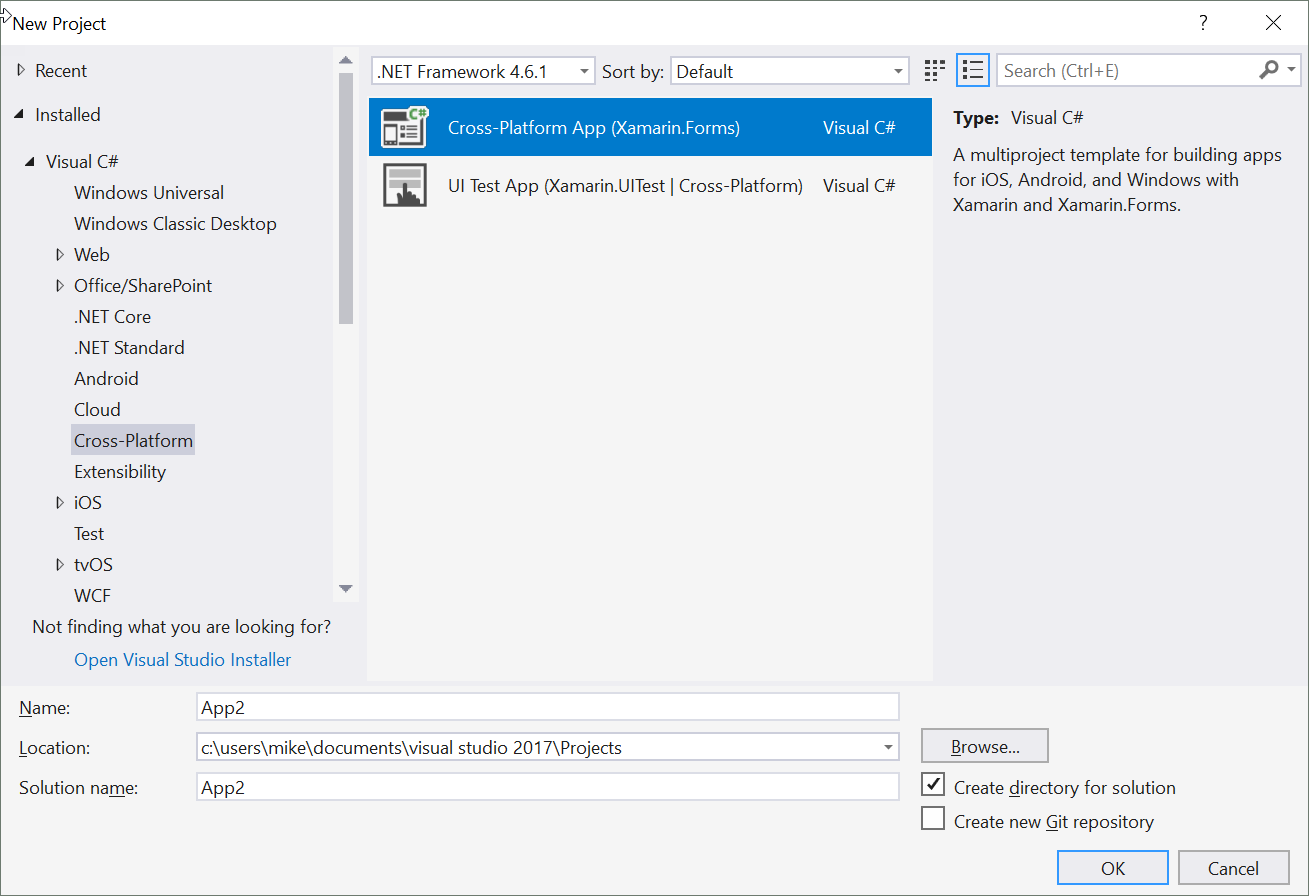
on the next screen we will select a Blank App template and the .NET Standard Code sharing strategy
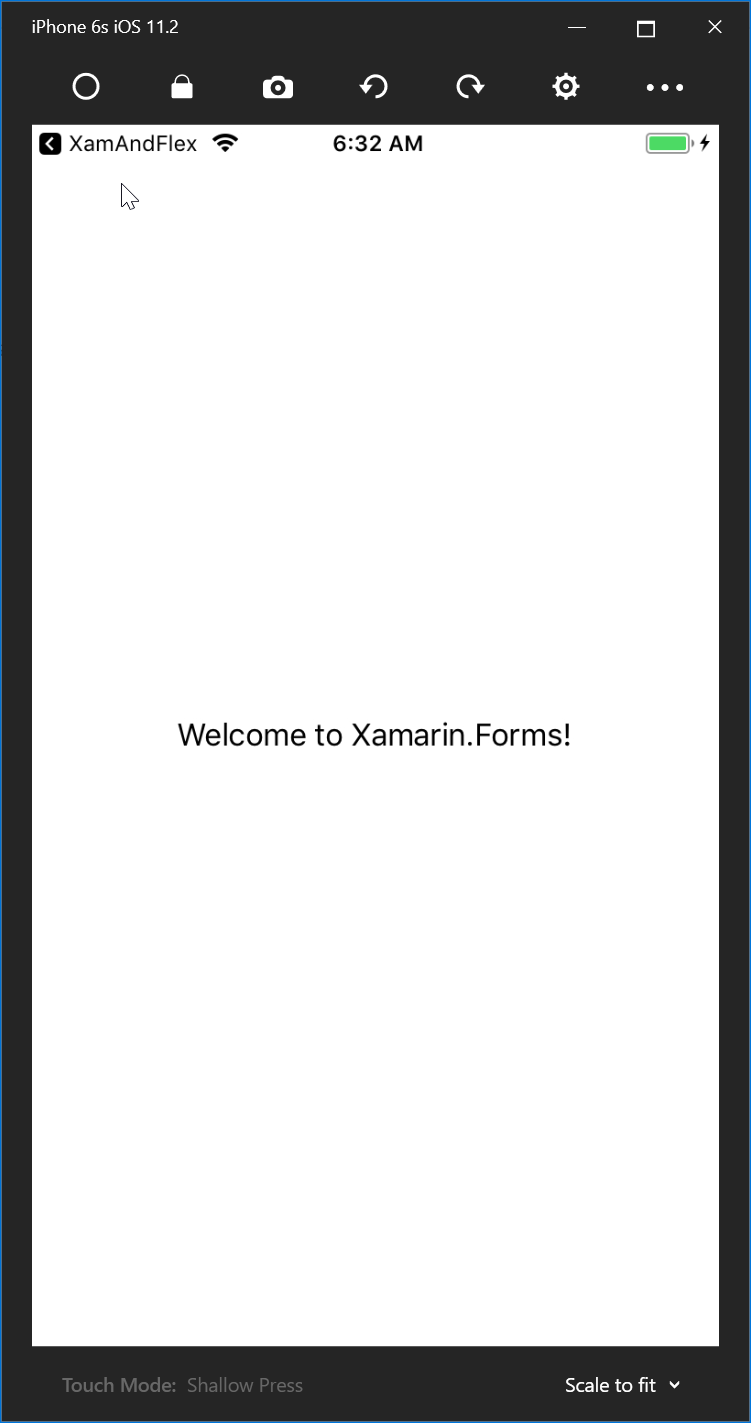
After clicking ok Visual Studio will create a simple Xamarin Application with a single page
Lets quickly build this simple app. We can build it either for Windows, Android or iOS.
To build our little example we want to change this screen of course
We want a list showing our customers and we also want to add a field for the host name so we can enter a different host name for our web service if needed
On the DataFlex side we have a struct called tCutomerInfo that holds the data for each customer record
// Customer Information
// This structure matches the structure of the Customer table
struct tCustomerInfo
    integer iCustNumber
    string  sName
    string  sCustAddress
    string  sCity
    string  sState
    string  sZip
    string  sPhoneNumber
    string  sFaxNumber
    string  sEmailAddress
    real    rCreditLimit
    real    rPurchases
    real    rBalance
    string  sComments
    string  sStatus
end_struct
first we need the equivalent class on the Xamarin side to receive that information
We add the following class
namespace XamAndFlex
{
    class CustomerInfo
    {
        public int iCustNumber { get; set; }
        public string sName { get; set; }
        public string sCustAddress { get; set; }
        public string sCity { get; set; }
        public string sState { get; set; }
        public string sZip { get; set; }
        public string sPhoneNumber { get; set; }
        public string sFaxNumber { get; set; }
        public string sEmalAddress { get; set; }
        public decimal rCreditLimit { get; set; }
        public decimal rPurchases { get; set; }
        public decimal rBalance { get; set; }
        public string sComments { get; set; }
        public string sStatus { get; set; }
    }
}
now lets add a property for our host address to the application. In App.xaml.cs we will add the following
        private static string _hostAddress;
        public static string HostAddress { get { return _hostAddress; } set { _hostAddress = value; } }
and then lets add the initialization in the constructor
        public App()
        {
            InitializeComponent();

            HostAddress = "http://localhost/";
            MainPage = new XamAndFlex.MainPage();
        }
Now we also add a static function to return an HttpClient that we will need later on for calling the web service
        private static HttpClient _client;
        public static HttpClient GetClient()
        {
            if (_client == null)
            {
                _client = new HttpClient();
                _client.Timeout = TimeSpan.FromSeconds(8);
            }
            return _client;
        }
Having done all this it is time to create a view model for our view
First we will create a simple base view model class as follows
namespace XamAndFlex
{
    public class BaseViewModel : INotifyPropertyChanged
    {

        protected bool SetProperty<T>(ref T backingStore, T value,
            [CallerMemberName]string propertyName = "",
            Action onChanged = null)
        {
            if (EqualityComparer<T>.Default.Equals(backingStore, value))
                return false;

            backingStore = value;
            onChanged?.Invoke();
            OnPropertyChanged(propertyName);
            return true;
        }

        #region INotifyPropertyChanged
        public event PropertyChangedEventHandler PropertyChanged;
        protected void OnPropertyChanged([CallerMemberName] string propertyName = "")
        {
            var changed = PropertyChanged;
            if (changed == null)
                return;

            changed.Invoke(this, new PropertyChangedEventArgs(propertyName));
        }
        #endregion
    }
}
this class is a very simple base view model supporting property changed notifications
now we can use this class as a base class for our CustomerListViewModel
namespace XamAndFlex
{
    class CustomerListViewModel : BaseViewModel
    {
        public CustomerListViewModel()
        {
            Customers = new ObservableCollection<CustomerInfo>();
        }

        public ObservableCollection<CustomerInfo> Customers { get; set; }

        public async Task<bool> GetCustomers()
        {

            string uri = String.Format("{0}WebOrder_19_1/CustomerAndOrderInfo.wso/GetCustomerInfoList/JSON", App.HostAddress);


            try
            {
                var cl = App.GetClient();
                var content = await cl.GetStringAsync(uri);

                var custs = JsonConvert.DeserializeObject<List<CustomerInfo>>(content);
                Customers = new ObservableCollection<CustomerInfo>(custs);
                OnPropertyChanged("Customers");
            }
            catch (Exception ex)
            {
            }

            return true;
        }
    }
}
the viewmodel consists of a simple Observable collection property that will contain the list of customers and an asynchronous method to load the customer list from the web service.
the method simply creates the url and then calls the web service which in turn returns json data. We then deserialize the Json data into a list of CustomerInfo objects and create an observable collection from that list.
now back to our main screen. We want to have an entry field to enter the host address and a refresh button to force a refresh on the list and also of course a list that shows the Customers
Xamarin Forms uses Xaml to describe user interfaces. Our MainPage.xaml file looks as follows
<?xml version="1.0" encoding="utf-8" ?>
<ContentPage xmlns="http://xamarin.com/schemas/2014/forms"
             xmlns:x="http://schemas.microsoft.com/winfx/2009/xaml"
             xmlns:local="clr-namespace:XamAndFlex"
             x:Class="XamAndFlex.MainPage">

    <ContentPage.Padding>
        <OnPlatform x:TypeArguments="Thickness"  iOS="0, 20, 0, 0"                     Android="0, 0, 0, 0"                     WinPhone="0, 0, 0, 0" />
    </ContentPage.Padding>

    <StackLayout Orientation="Vertical">
        <Image Source="starzenlogo.png"></Image>

        <StackLayout Margin="5" Orientation="Horizontal" >
            <StackLayout Orientation="Vertical">
                <Label Text="Host Name:" FontSize="Micro" />
                <Entry WidthRequest="300" x:Name="hostNameEntry" />
            </StackLayout>

            <Button Text="Refresh" Clicked="btnRefresh_Clicked"/>

        </StackLayout>

        <ListView RowHeight="100" ItemsSource="{Binding Customers}">
            <ListView.ItemTemplate>
                <DataTemplate>
                    <ViewCell>
                            <Grid >
                                <StackLayout HorizontalOptions="Center" Orientation="Vertical" Margin="5">
                                    <StackLayout HorizontalOptions="Center" Spacing="5" Orientation="Horizontal">
                                        <Label VerticalOptions="Center" Text="{Binding sName}" FontSize="Small" FontAttributes="Bold" />
                                        <Label VerticalOptions="Center" Text="{Binding iCustNumber}" FontSize="Micro" />
                                    </StackLayout>
                                    <Label HorizontalOptions="Center" Text="{Binding sCustAddress}" FontSize="Micro"  />
                                    <StackLayout HorizontalOptions="Center" Spacing="5" Orientation="Horizontal">
                                        <Label Text="{Binding sCity}" FontSize="Micro" />
                                        <Label Text="{Binding sState}" FontSize="Micro" />
                                        <Label Text="{Binding sZip}" FontSize="Micro" />
                                    </StackLayout>

                                </StackLayout>

                        </Grid>
                    </ViewCell>
                </DataTemplate>
            </ListView.ItemTemplate>
        </ListView>
    </StackLayout>

</ContentPage>
We have a content page. In the content page we define a padding and we only use padding on the iOS platform. On iOS the top bar would otherwise be overlapping our main window.
The rest of the page is a StackLayout containing a logo image another stack layout that contains the host address fields and the ListView
The host address fields consist of a simple label and entry field as well as a button. The button has a simple clicked event, we could of course create a command in our ViewModel as well.
The ListView uses binding to bind its ItemsSource property to the Customers property of our CustomerListViewModel. The item template uses data binding to bind to the customer records fields.
Now on to the code side of the main page
First we define the view model property, create an instance and also add it as a BindingContext to our main page.
In addition we initialize the host name from our application property
        private CustomerListViewModel customerListViewModel;

        public MainPage()
		{
            InitializeComponent();

            customerListViewModel = new CustomerListViewModel();
            BindingContext = customerListViewModel;

            hostNameEntry.Text = App.HostAddress;


        }
We also need to add the clicked event for our refresh button. Again this could be a command in our view model as well
 private async void btnRefresh_Clicked(object sender, EventArgs e)
        {
            App.HostAddress = hostNameEntry.Text;
            if (!App.HostAddress.EndsWith("/"))
            {
                App.HostAddress = App.HostAddress + "/";
            }
            await customerListViewModel.GetCustomers();
        }
We get the host name from the entry field update our applications host name property and call the GetCustomers method in our view model.
In addition we could automatically refresh the list when the screen is shown
To do this we override the OnAppearing event
        protected override async void OnAppearing()
        {
            base.OnAppearing();
            await customerListViewModel.GetCustomers();

        }
In the OnAppearing event we also make a call to the GetCustomers method of our viewmodel to fill the list.
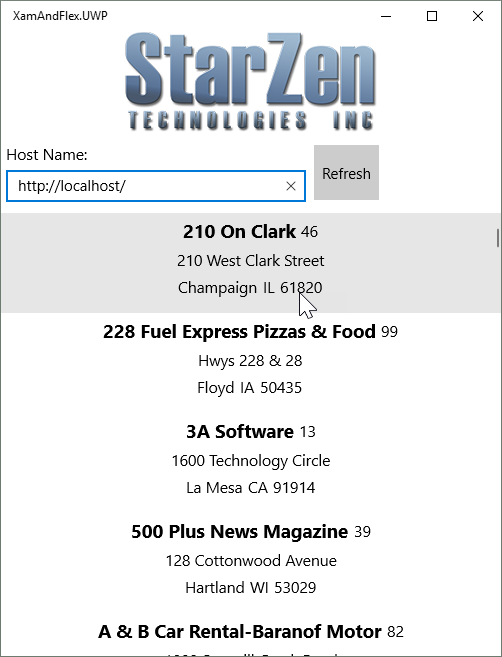
lets build our project and see what it looks like as a windows application
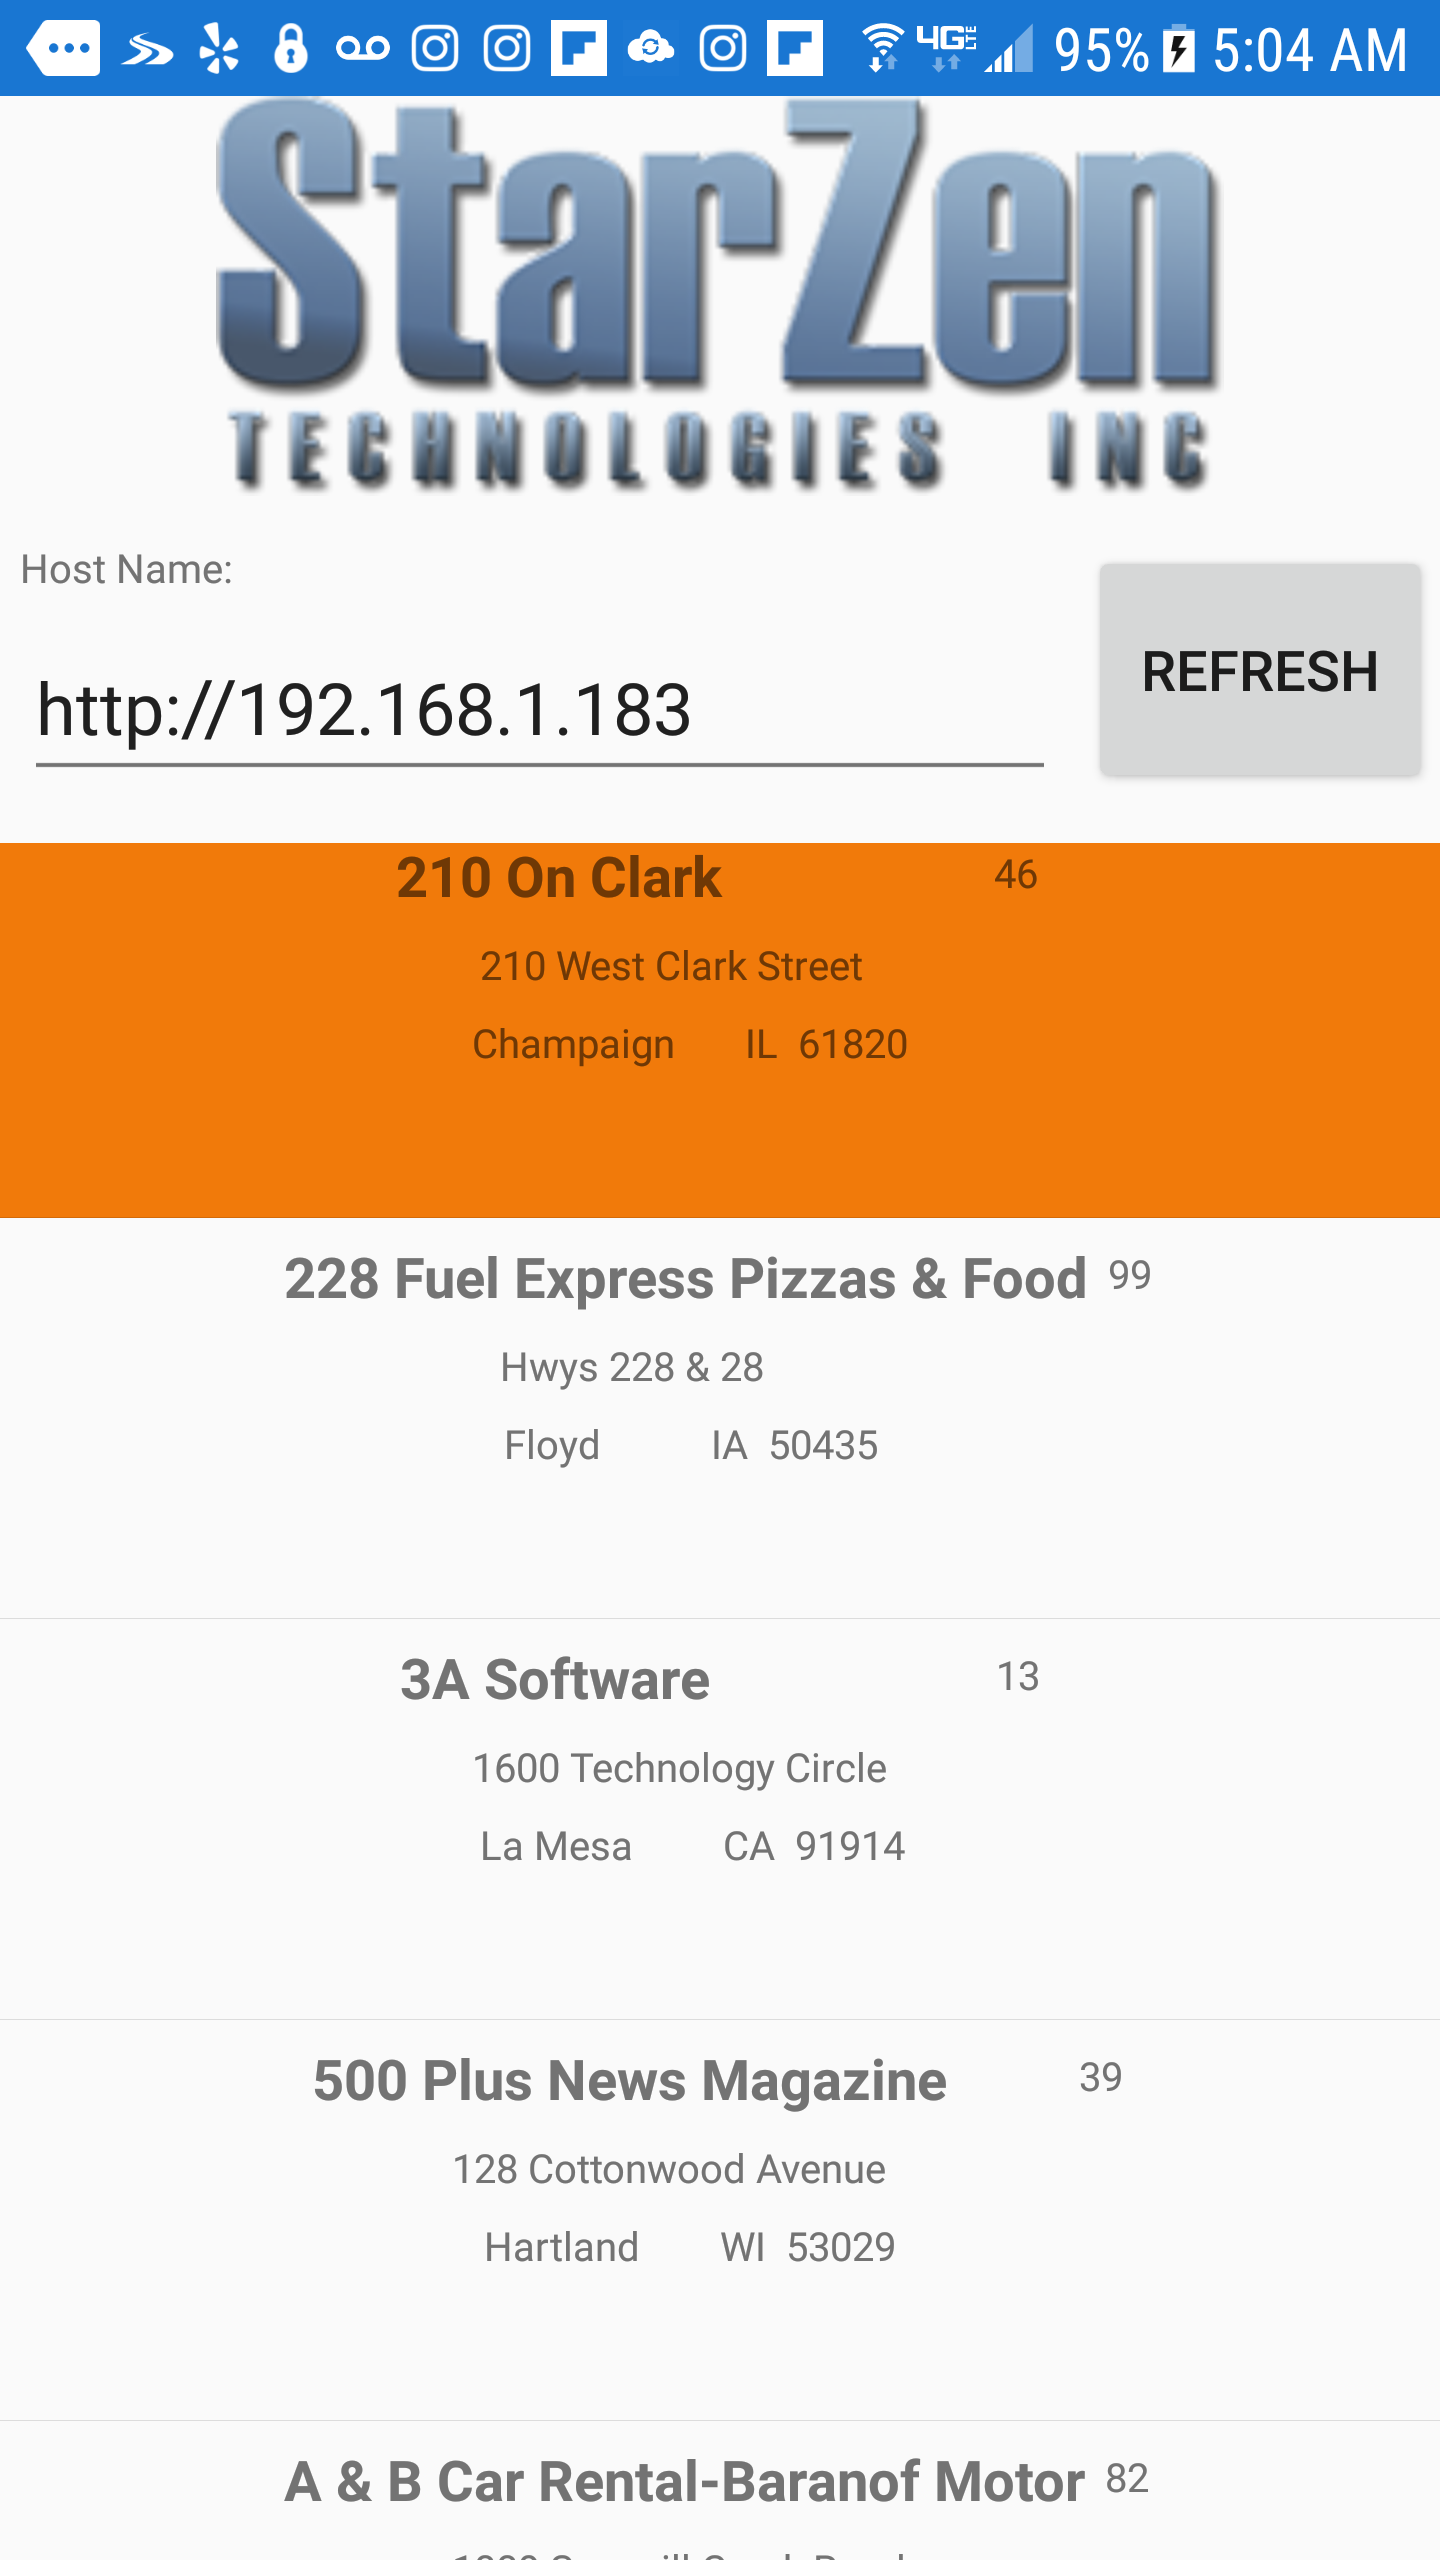
the same application built on Android will look as follows
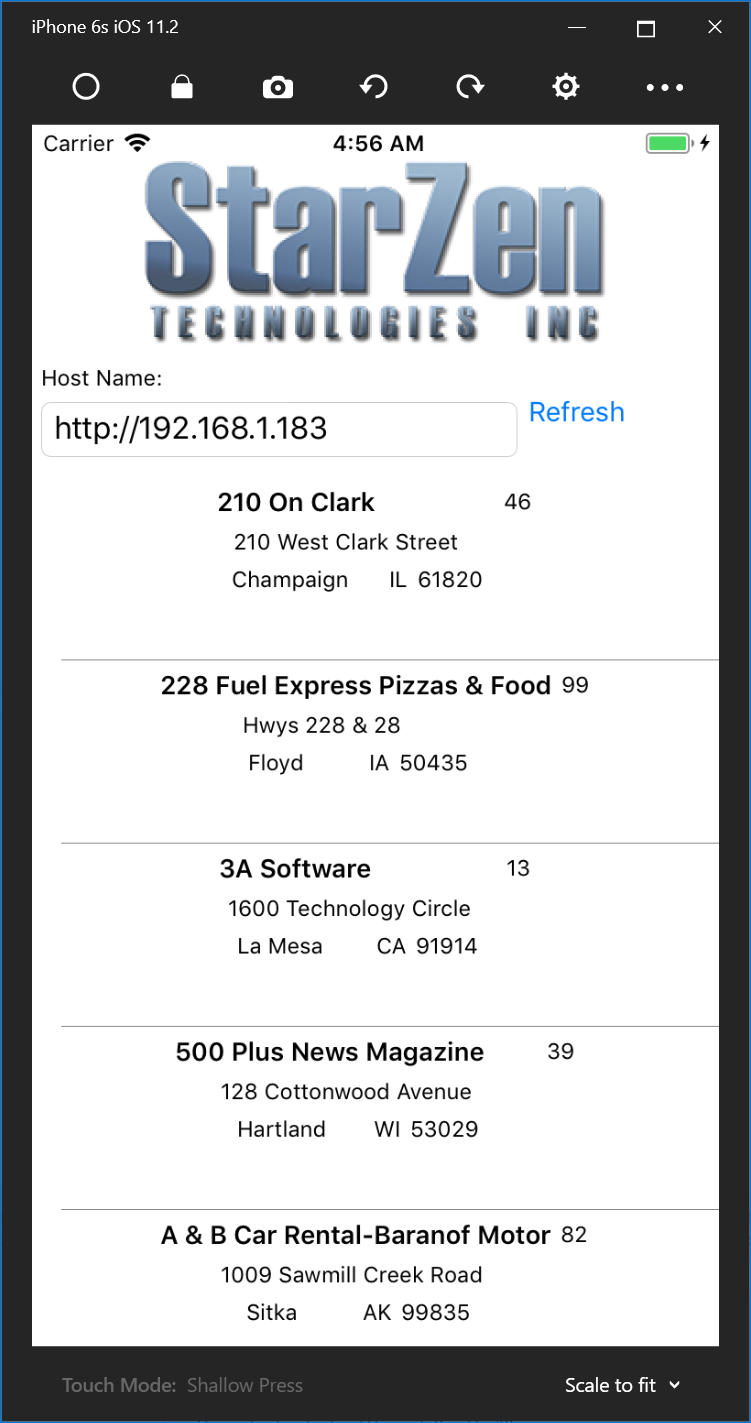
and last but certainly not least the iOS version. For iOS builds a connected mac is required to do the builds
This shows a small example on how you can build a native mobile application using Xamarin and connect it to a DataFlex WebApp webservice.
We have used Xamarin in a few mobile applications often were offline capability was a big requirement.
